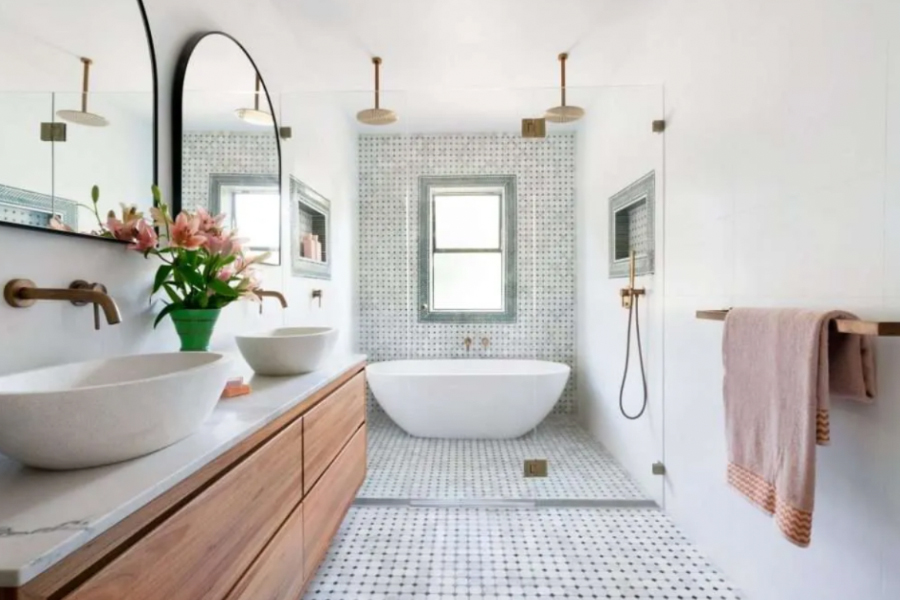
DIY Bathroom Renovations: Tackling Your Upgrades on Your Own
Bathroom renovations can be expensive, but that doesn’t mean you have to give up on your dream of having a beautiful and functional space. With the right tools and some basic knowledge, you can tackle a DIY bathroom renovation on your own. In this article, we’ll walk you through some of the key steps to consider when embarking on a DIY bathroom renovation project.
1. Plan Your Bathroom Renovation:
Planning is crucial to any DIY project. If you start with a plan in place, it’s much easier to stay focused on your goals and avoid costly mistakes along the way. To get started with planning your bathroom renovation, here are some questions to consider:
- What are my goals for this project?
- What fixtures do I want to be installed?
- How much time do I have?
- How much money do I have?
- Do I need permits or other approvals?
2. Measure Your Space:
Before you get started with your DIY bathroom renovation, it’s important to measure the space you’re working with. This will let you know how much work needs to be done and how much time and money it will take. It’s also important to know what kind of fixtures you want to be installed before you start, so you can plan for their installation.
Measure the length and width of your bathroom, as well as its height above the floor. Take into account any obstructions that might prevent you from installing a certain fixture or feature in the desired location. You should also measure any windows or doors that are in the way of your renovation plans.
3. Choose Your Fixtures and Finishes:
Once you’ve measured your space, it’s time to choose your fixtures and finishes for the project. Start by deciding on all of the major components — like sinks, toilets, tubs, and showers — then move on to smaller features like towel racks and mirrors. Keep in mind that many fixtures come in different finishes (such as chrome or bronze) which will affect how they look when installed.
4. Remove Existing Fixtures and Features:
If you’re starting from scratch, this will be an easy step. If not, you’ll need to remove everything in your bathroom that’s old or outdated. Start by removing the toilet and sink fixtures and any other hardware that needs to be removed. Next, remove the shower enclosure or tub enclosure. If you’re installing a new shower stall or tub enclosure, consult your local hardware store for specific installation instructions. Removing the old fixtures is usually quite simple and straightforward — just locate the screws that hold them in place, remove them, and then lift out the old fixture.
5. Prepare Your Space for Installation
If you’re gutting your bathroom, the first step is to remove everything from the room. Start by removing all plumbing fixtures and electrical wires that are connected to the walls. Next, remove any cabinets and fixtures that are still in place. Be sure to label each piece of hardware with masking tape so that you know what goes where when it comes time to reinstall it.
6. Install Your New Fixtures and Features
The next step is installing new fixtures and features. This includes things like sinks and toilets, but also other things like bathtubs and showers. Installing these new fixtures will help you get a better idea of how much space you need for everything else that needs to go into the bathroom. You should also try to install them before any other work is done in case there are any issues with installation or damage caused by construction materials being stored in the room.
Conclusion
Tackling DIY bathroom renovations can be a rewarding project that saves you money and provides you with beautiful new bathroom space. However, it’s important to plan your renovation carefully, take your time during the renovation process, and seek professional help when needed. By following these steps, you can transform your bathroom into a beautiful, functional space that you can enjoy for years to come.

